
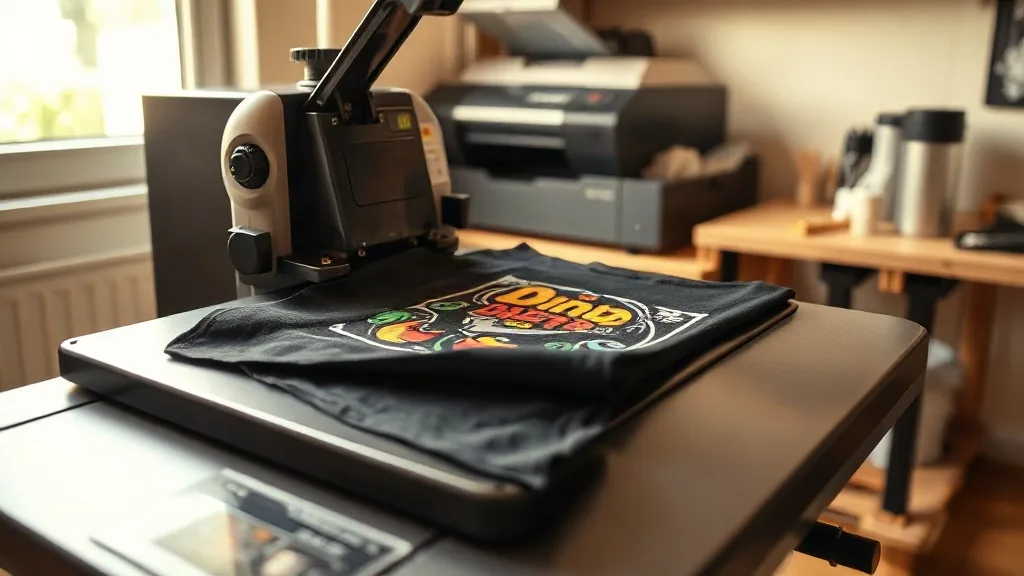
If you run a small print shop or decorate garments on the side, you've probably heard about dtf transfers by now. Maybe a competitor started offering full-color prints on dark shirts without the setup hassle of screen printing. Or maybe you're tired of weeding vinyl for every small order. Either way, DTF transfers are worth understanding, because they solve a very specific set of problems that other methods don't handle well.
This guide is not a sales pitch. It's a practical look at what DTF transfers are, what equipment you actually need, and where they fit into a small shop's workflow. I've spent the last few years running a two-person shop that does a mix of vinyl, screen printing, and DTF, and I've made most of the mistakes you can make with this process. Here's what I wish I'd known earlier.
What DTF transfers actually are
DTF stands for direct-to-film. The process works like this: you print your design onto a special film using a printer loaded with pigment inks, dust the wet print with a hot-melt adhesive powder, cure the powder with heat, and then press the film onto a garment with a heat press. The film peels away, leaving the ink and adhesive bonded to the fabric.
What makes dtf different from other transfer methods is that it doesn't require a special coating on the garment. You can press onto cotton, polyester, blends, canvas, and even some nylon materials. That flexibility is the main reason small shops have adopted it so quickly. You don't have to stock different transfer types for different fabrics.
Another advantage is that DTF handles full-color designs with gradients and fine details without any additional cost per color. A design with twelve colors costs the same to print as a design with two. For small runs where screen printing setup fees would eat your margin, that's a big deal.
What you need to get started
The equipment list is shorter than you might expect, but each piece matters. Here's the minimum setup for a small shop:
- A DTF printer. These are purpose-built machines that use pigment inks and print onto film. You can convert some inkjet printers, but purpose-built models are more reliable and come with the right ink system and RIP software.
- Hot-melt adhesive powder. This is the glue that bonds the ink to the fabric. It comes in different mesh sizes; finer powder gives softer hand-feel, coarser powder gives stronger adhesion.
- A powder shaker or a manual shaker. You can apply powder by hand in a tray, but a shaker machine saves time and gives more even coverage.
- A curing oven or a heat press for curing. The powder needs to melt and flow before pressing. Some shops use a small conveyor oven; others use a heat press with a slight gap.
- A heat press. You need consistent temperature and pressure. A decent press with a digital controller is fine; you don't need a top-of-the-line model to start.
- DTF film. Cold-peel and hot-peel films behave differently. Start with one type and learn it well before experimenting.
Budget-wise, a basic setup can run anywhere from a few thousand dollars for a small desktop printer to five figures for a production-level machine. If you're just testing the waters, consider ordering pre-printed transfers from a supplier before committing to equipment. That's how I started, and it let me figure out whether customers actually wanted DTF before I spent money on hardware.
Where DTF fits in a small shop's workflow
The sweet spot for DTF is short runs with complex designs. If a customer wants ten shirts with a full-color photo, DTF is usually the fastest and cheapest way to deliver. Screen printing would require color separations and setup time that doesn't make sense for ten pieces. Vinyl would be impossible for a photo.
DTF also works well for samples and one-offs. When a customer wants to see a design on an actual garment before placing a bulk order, you can print and press a single transfer in minutes. That speed changes how you can sell. You can offer same-day proofs or small custom orders that you'd otherwise turn down.
That said, DTF isn't the right choice for everything. For large runs of simple designs, screen printing is still cheaper per piece and often more durable. For stretchy performance wear, DTF can crack if not applied correctly. Knowing when to use which method is part of running a profitable shop.
Common mistakes and how to avoid them
Most DTF problems come down to a few variables: powder coverage, curing temperature, press settings, and film handling. Here are the ones I see most often.
Too much powder
It's tempting to think more powder means better adhesion. In reality, excess powder makes the print stiff and can leave a gritty texture on the garment. Shake off the excess gently and aim for an even, light coating. The powder should look like a thin dusting, not a crust.
Under-curing the powder
If the powder doesn't melt fully, the transfer will crack or peel after a few washes. Curing temperature and time depend on your powder and film, so follow the manufacturer's recommendations and test with a small piece first. A simple check: after curing, the powder should look melted and slightly glossy, not grainy.
Wrong press settings
Heat press settings for DTF are different from vinyl or screen-print transfers. Typical ranges are around 300 to 320 degrees Fahrenheit for 10 to 15 seconds with medium pressure. But those numbers vary by film type and garment. Always do a test press on a scrap piece before running a customer order.
Peeling the film too early or too late
Cold-peel film needs to cool completely before you peel it. Hot-peel film needs to be peeled while still warm. Mixing these up can ruin the print. Label your film rolls clearly and keep them separate.
How to find quality supplies and transfers
If you're not ready to invest in equipment, or if you want to offer DTF without adding another machine to your shop, ordering pre-printed transfers is a practical option. When you search for dtf transfers near me, you'll find suppliers who print and ship transfers ready to press. This lets you test the market, handle overflow work, or offer DTF alongside your existing services without a capital investment.
When evaluating a supplier, ask about film type, powder mesh size, and turnaround time. Request a sample pack and press it yourself before committing to a larger order. The quality of the transfer depends heavily on the printer's settings and materials, so a sample tells you more than any sales page.
Frequently asked questions
Can I use DTF transfers on 100% cotton shirts?
Yes. DTF works on cotton, polyester, and blends. The adhesive bonds well to cotton, and the print typically holds up through many washes if applied correctly. Just make sure the garment is clean and flat before pressing.
How durable are DTF transfers after washing?
With proper application and curing, DTF prints can last as long as the garment. Most failures come from under-curing or pressing at the wrong temperature. Following the supplier's instructions and doing a wash test on a sample will give you a realistic idea of durability.
Do I need a special printer for DTF?
You can convert some inkjet printers to DTF, but purpose-built DTF printers are more reliable and come with the right ink system and software. If you're just starting, consider ordering pre-printed transfers before buying equipment.
What's the difference between DTF and DTG?
DTG (direct-to-garment) prints directly onto the fabric, while DTF prints onto a film that is then pressed onto the garment. DTF works on more fabric types and doesn't require pre-treatment, but DTG can produce a softer hand-feel on 100% cotton. The right choice depends on your designs and materials.
Can I press DTF transfers with a home iron?
It's not recommended. A home iron doesn't provide consistent temperature and pressure, which are critical for proper adhesion. A heat press is a much better investment for any serious work.