
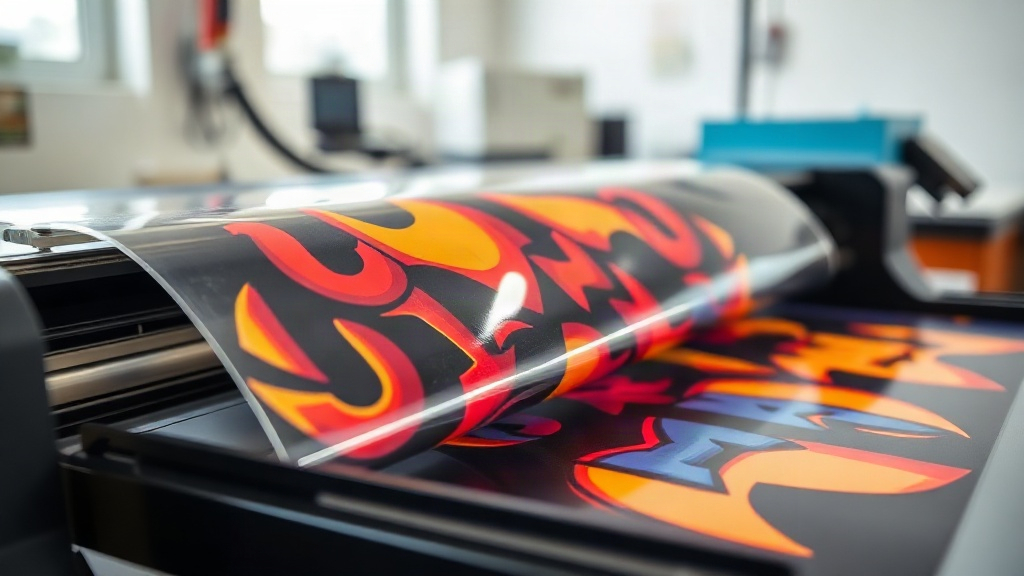
Direct-to-film, commonly known as DTF, has quickly become a go-to method for creating vibrant, durable transfers on a wide range of fabrics. Whether you're a small business owner looking to offer custom apparel or a hobbyist wanting to personalize gifts, understanding DTF printing can open up a world of possibilities. Unlike traditional screen printing or vinyl cutting, DTF allows for full-color, high-detail designs without the need for multiple screens or weeding. In this guide, we'll walk you through the entire process, from preparing your artwork to applying the final transfer, and share tips to help you achieve professional results.
What Exactly Is DTF Printing?
DTF printing is a digital printing technique where your design is printed onto a special film, coated with a powder adhesive, and then heat-pressed onto fabric. The process uses water-based inks that are vibrant and stretchable, making them ideal for garments that need to move with the body. The film acts as a carrier, and after pressing, the design becomes permanently bonded to the fabric. This method works on cotton, polyester, blends, and even some tough-to-print materials like nylon and leather.
The Science Behind the Adhesive
The magic of DTF lies in the thermoplastic powder that's applied to the wet ink. When heated, the powder melts and fuses with the ink, creating a strong bond with the fabric fibers. This is why DTF transfers can withstand repeated washing without cracking or fading. The powder is typically TPU (thermoplastic polyurethane), known for its flexibility and durability.
Why Choose DTF Over Other Printing Methods?
There are several reasons why DTF has gained popularity among professionals and hobbyists alike. Let's break down the key advantages:
- No color limitations: Unlike screen printing, which requires a separate screen for each color, DTF can reproduce full-color images in one pass.
- Works on multiple fabrics: You can apply DTF transfers to cotton, polyester, blends, and even treated nylon, without needing different formulations.
- No weeding required: Forget the tedious process of cutting and weeding vinyl. With DTF, you simply print, powder, and press.
- Soft feel: The transfers are thin and flexible, giving a comfortable wear that doesn't crack or peel.
- Cost-effective for short runs: Since there's no setup cost, DTF is perfect for small batches or one-off custom items.
DTF vs. DTG: What's the Difference?
Direct-to-garment (DTG) printing is another digital method, but it requires pre-treatment and works best on 100% cotton. DTF, on the other hand, doesn't need pre-treatment, works on more fabrics, and often produces more vibrant colors. Plus, DTF transfers can be stored and used later, giving you flexibility in production.
Step-by-Step DTF Printing Process
Getting started with DTF printing involves a few key steps. Here's a detailed walkthrough to help you master the technique.
1. Designing Your Artwork
Start with high-resolution artwork (300 DPI is recommended). Remember that DTF prints are typically mirrored, so your design should be flipped horizontally before printing. Use a RIP (Raster Image Processor) software to manage color profiles and ensure accurate output. If you're new to DTF, many printers come with proprietary software that simplifies this step.
2. Printing onto DTF Film
Load your DTF film into a compatible printer, usually an inkjet printer converted for DTF use. The film has a special coating that holds the ink. Print your design using DTF inks, which are typically water-based and eco-friendly. Ensure the printer is set to the correct film type and resolution.
3. Applying the Adhesive Powder
While the ink is still wet, sprinkle the TPU powder evenly over the printed design. You can use a shaker bottle for better control. Gently shake off excess powder, then cure the film under a heat press or in an oven at around 160°C (320°F) for 2-3 minutes. The powder will melt and create a shiny, slightly raised surface.
4. Heat Pressing the Transfer
Set your heat press to 160-170°C (320-340°F) with medium pressure. Place the DTF transfer face-down onto the fabric, cover with a protective sheet, and press for 10-15 seconds. Let it cool completely before peeling off the film. For best results, do a second press for 5 seconds after peeling to ensure full adhesion.
5. Post-Pressing and Care
After peeling, you can stretch the fabric gently to check flexibility. Wait 24 hours before washing. Turn the garment inside out and wash in cold water; avoid fabric softeners and bleach. Tumble dry low or hang dry. With proper care, your DTF prints will last as long as the garment itself.
Common Challenges and How to Overcome Them
Even with a solid process, you might run into issues. Here are some troubleshooting tips:
- Ink smudging: Ensure the film is loaded correctly and the printer settings are optimized for DTF film.
- Powder not sticking: Apply powder immediately while ink is wet; if it's too dry, increase humidity or print again.
- Cracking after wash: This usually means under-curing or insufficient pressure. Increase pressing time or pressure.
- Colors look dull: Check your ink profiles and ensure you're using quality DTF inks and film.
Choosing the Right Equipment
Not all printers are created equal. For DTF, you'll need a printer with a white ink channel (since white is often used as a base) and a RIP software that supports DTF profiles. Popular options include converted Epson printers or dedicated DTF printers. When selecting film, look for double-sided matte coating for better ink absorption.
Applications of DTF Printing
DTF is incredibly versatile. It's used for custom t-shirts, hoodies, tote bags, caps, and even shoes. Because it adheres to many materials, you can decorate items that were previously difficult to print, like canvas shoes or polyester athletic wear. Small businesses love DTF for its low startup cost and ability to handle personalized orders quickly.
Frequently Asked Questions
Can I use DTF on 100% polyester?
Yes, DTF works well on polyester, including blends with cotton. The key is to use low-temperature adhesive powder to prevent dye migration, and press at a slightly lower temperature (around 150°C) to avoid scorching.
How long do DTF transfers last?
With proper application and care, DTF transfers can last 50+ washes without significant fading or cracking. Following the washing instructions is crucial for longevity.
Do I need a special printer for DTF?
You can convert an existing inkjet printer (like certain Epson models) to DTF by installing a DTF ink system and using DTF film and powder. Alternatively, you can buy a dedicated DTF printer, which simplifies the process.
Is DTF printing cost-effective for small batches?
Absolutely. Because there's no setup cost and you can print one-off designs, DTF is ideal for small batches. The cost per print is higher than screen printing for large runs, but for short runs, it's very economical.
What fabrics can I use with DTF?
DTF adheres to cotton, polyester, blends, nylon, leather, and more. It's not recommended for fabrics with a heavy waterproof coating, as the adhesive may not bond properly.