
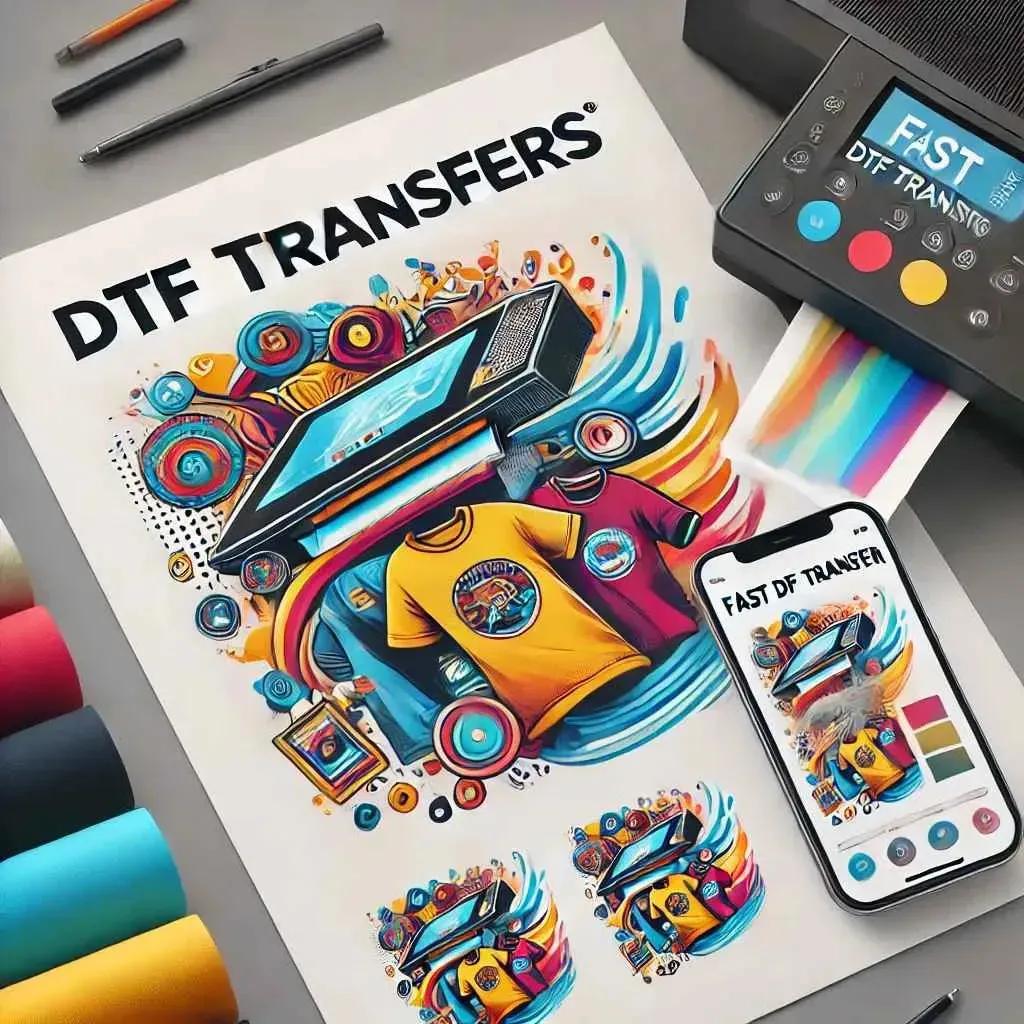
DTF transfers have redefined how designers and hobbyists bring bold, long-lasting color to custom tees, offering a reliable blend of sharp detail, soft hand feel, and durable wear that stands up to daily use. This approach sits at the heart of the DTF printing process, delivering vibrant, multi-color graphics onto a wide range of fabrics—from cotton blends to performance textiles—while allowing relatively simple setup for home studios. As you explore DTF transfers, you’ll appreciate the balance of adhesion, texture, and durability that sets this method apart from other techniques, and you’ll discover how it scales from small runs to collaborative projects. For makers eyeing quick turnaround, custom tee printing with DTF offers flexibility from initial design to final garment, with strong color fidelity, easy revision cycles, and straightforward post-press care. When choosing between methods, consider DTF vs screen printing to weigh color depth, fabric compatibility, environmental impact, and total cost across setups, consumables, and maintenance.
Think of this as a film-based transfer system rather than direct garment printing. The artwork is produced on a specialty release film, dusted with an adhesive powder, cured, and then fused to fabrics with heat and pressure. This terminology—transfer film, adhesive powder, curing, and heat press—helps you explore the topic through related concepts, making it easier to compare with other methods. Using alternative terms such as film-based printing, heat-applied graphics, and all-over transfer ideas can clarify differences with technologies like DTG or sublimation while keeping the core concept intact.
1) Understanding DTF transfers and why they matter for beginners
DTF transfers are a practical way to move complex, colorful designs onto fabric by printing on a special film, applying adhesive powder, and heat pressing. They offer vibrant color, flexible handling on a variety of fabrics, and durable adhesion that holds up to wash after wash. For beginners, the method’s forgiving nature—especially on cotton blends and even some polyesters—helps you translate digital artwork into wearable art with less texture distortion than some alternative methods.
Understanding how DTF transfers work reveals why many hobbyists reach for them for custom tee projects. The entire workflow—from artwork to the finished garment—centers on balancing color accuracy, film quality, and proper curing. This introduction to the process aligns with the concept of DTF transfers and sets expectations for the steps you’ll perform, from design to final care.
2) The DTF printing process: from design to film
The DTF printing process is a multi-step workflow designed to preserve color and detail. It begins with design and color management, where crisp vector graphics and high-resolution rasters are prepared and color profiles are set to match the printer and film. You’ll reverse the image for transfer, so you read it correctly on the garment after pressing.
Next comes printing on the film with DTF inks, then applying an adhesive powder, curing, and trimming the transfer. In this stage, the term “DTF printing process” is relevant, and you’ll learn how the interplay of ink, powder, and heat creates a stable image that transfers cleanly during the final heat press.
3) DTF heat transfer: mastering the press for durable results
The DTF heat transfer step uses a calibrated heat press to bond the design to fabric. Typical parameters are around 15-25 seconds at 300-320°F, with pressure tuned to the transfer system and fabric type. A cold peel or warm peel release may be required to remove the carrier after pressing, revealing the crisp graphic beneath.
Achieving consistent results with the DTF heat transfer also means planning for post-press care and testing, including wash tests on sample fabrics and ensuring the adhesive powder has cured fully. When you master this stage, you’ll notice fewer edge lifts and improved color fidelity across runs.
4) Materials and setup for successful custom tee printing with DTF
Materials matter for DTF success: choose high-quality transfer films and adhesive powders, and select fabrics that respond well to heat pressing. Cotton tees typically yield bolder results, but the right film and powder combination can enable good adhesion on blends and even some polyesters. Pre-washing fabrics reduces shrinkage and helps maintain image alignment.
Setting up for custom tee printing with DTF includes having a reliable heat press, compatible printer/RIP software, and space for powders and films. This subheading emphasizes a workflow that supports repeatable results, from design to curing to trimming, so your projects scale smoothly.
5) DTF vs screen printing: choosing the right method for your project
DTF vs screen printing is a common consideration when choosing a method. DTF tends to offer richer color detail, easier handling of multi-color designs, and compatibility with a wider range of fabrics than some traditional screen printing setups. It also allows for shorter setup times on small runs, which makes it attractive for hobbyists and small studios.
However, screen printing can be cost-effective at larger volumes and may deliver different hand-feel results depending on inks and fabrics. Evaluating your project requirements, such as fabric type, color count, and run length, will guide whether you choose DTF or a screen-printed approach for best outcomes.
6) Care, longevity, and troubleshooting for DTF prints
Care and longevity of DTF prints depend on proper post-press treatment and wash routines. Turn shirts inside out, use cold-water cycles, and avoid high-heat drying or direct ironing on the print. The DTF printing process can deliver durable colors, but longevity improves with proper garment care and avoiding harsh chemicals or aggressive cycles.
Troubleshooting common issues, like white edges or color fading, is easier when you document your process and run small tests on the exact fabrics you’ll use. By refining temperatures, times, and powders through trial runs, you’ll enhance repeatability and ensure smooth scaling for more tees in the future.
Frequently Asked Questions
What is the DTF printing process and how do DTF transfers work?
DTF transfers use the DTF printing process: artwork is printed on a special release film, coated with adhesive powder, cured, and trimmed. The pressed transfer is then applied to fabric with heat and pressure (DTF heat transfer). The image is usually mirrored on the film so it reads correctly on the shirt. This method enables vibrant, multi-color designs on a wide range of fabrics with strong durability.
DTF vs screen printing: which is better for custom tee printing with DTF transfers?
For small runs or designs with many colors, DTF transfers provide quick setup, strong color, and compatibility with cotton, blends, and some polyester. Screen printing can be more cost-effective for large runs but requires more setup and is less flexible for complex fabrics or quick turnarounds. For custom tee printing with DTF transfers, you often get excellent fidelity and durability with less upfront cost.
What is the role of the heat press in DTF transfers and how does DTF heat transfer work?
A heat press applies the required heat and pressure to transfer the film image into fabric. Typical parameters are 15–25 seconds at 300–320°F, followed by a cold or warm peel as directed. This DTF heat transfer step ensures durability, color fidelity, and clean edges.
What should beginners know about custom tee printing with DTF?
Start with a clean design and prepare artwork for reverse printing on film. Print on the transfer film, apply adhesive powder, cure, trim, and then press onto a pre-warmed garment. Test on sample fabrics first, and watch for common pitfalls like misalignment and uneven powder to improve results.
Which fabrics and films work best for DTF transfers?
100% cotton tees typically yield bold results, but many blends and even some poly fabrics can work with the right film and adhesive powder. Use high-quality transfer films and pre-wash fabrics to reduce shrinkage and improve adhesion for durable DTF transfers.
How do you troubleshoot common issues in DTF transfers?
Common issues include misalignment, uneven powder coverage, insufficient curing, and color fading. Solutions: use alignment guides, apply powder evenly in light coats, cure fully, and verify heat press settings and fabric type. Run a few test prints before producing full batches to dial in parameters.
| Aspect | Key Points |
|---|---|
| Definition | DTF transfers are film-based graphics that are heat-pressed onto textiles. The image is printed on a transfer film, coated with an adhesive powder, cured, and then transferred to fabric with heat and pressure. |
| Why it matters / Benefits | DTF transfers enable vibrant multi-color graphics on a wide range of fabrics, with crisp details and minimal texture distortion. They’re accessible to beginners and scalable for professionals, balancing image quality, material compatibility, and cost. |
| Core terms |
|
| DTF printing process: step-by-step overview |
|
| Materials matter |
|
| Common mistakes |
|
| Equipment and setup for beginners |
|
| DTF transfers vs. other methods |
|
| Tips for brilliant results |
|
| Troubleshooting common issues |
|
| Care and longevity |
|
| From concept to finished tee: a practical roadmap |
|
| Advanced tips for scaling up |
|
Summary
DTF transfers open a versatile path to brilliant custom tees, delivering vibrant color and durable wear across a wide range of fabrics. By understanding the DTF printing process, selecting compatible materials, and mastering heat pressing, beginners can produce professional-looking apparel with crisp details and long-lasting adhesion. This guide highlights essential steps, common pitfalls, and practical tips to move from concept to finished tee with confidence. With careful testing, documentation, and ongoing optimization, you can scale your DTF transfers workflow to create standout garments for clubs, brands, or personal projects.

